
For some people, forwarding emails is a troublesome thing that they do daily. For Gmail (and many other email clients) users, you know that it only allows you to forward one email at a time. So if you have a bunch of emails to be forwarded, you need to open each of those and click the forward option to have them forwarded. Wish there was a way to quickly forward multiple emails at once? Luckily, there is.
Multi Forward for Gmail is an extension for the Chrome browser that lets you quickly forward multiple emails in your Gmail account.
Here’s how to do that.
Forwarding Multiple Emails at Once in Gmail Using Chrome
1. Head over to the Multi Forward for Gmail extension page in the Chrome Store and click on “ADD TO CHROME” to add the extension to your browser.

2. A prompt should appear asking if you really wish to add the extension to your browser. Click on “Add” to allow the extension to be added.

3. The extension should be added to your browser. You can see its icon in the browser’s menu bar. In order for it to work properly, you need to close the browser and then re-open it.
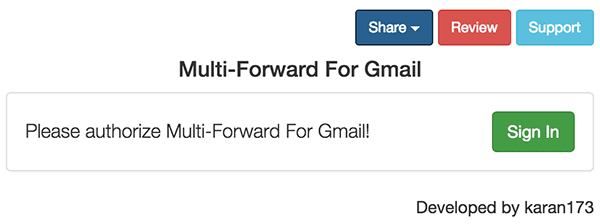
4. When the browser re-opens, click on the little arrow icon for the extension in your menu bar.
5. It should ask you to allow it to access your Gmail account. To do that, click on the button that says “Sign In.”
6. You should be taken to the Google panel where you can authorize the extension to use your Gmail account information. Click on the “Continue” button to move forward with the authorization process.

7. On the screen that follows, you need to click the “Accept” button to provide the extension the information it needs to help you forward emails in your Gmail account.
8. You should now be greeted with a message along with the instructions on how you can use the extension. You can now simply close that tab in your browser as it is no longer needed.
9. Here begins the actual forwarding procedure. Open your Gmail inbox and select multiple emails that you wish to forward. Click on the little arrow icon appearing beside the regular email options on the top.

10. You now need to enter the recipients for the emails. You can enter multiple email addresses, and when you are done, simply click the “Multi-Forward” button to start the forwarding process.

11. It will take some time to forward the selected emails. You will get the following screen while it is processing your emails.

12. When it is done forwarding all the emails, you will see the following success message. It indicates all the selected emails have been successfully forwarded to the specified recipients.

Sign up here with your email